
Lightweight Adjustable RPTC Mount with Door-Stop Hardware

In a previous article we showed you a French-cleat mount for the Rock Prodigy Training Center, but it was bulky and tricky to build. Here’s an alternate, low-profile method using off-the-shelf door-stop hardware—about $20 and one hour of work.
Required Tools
- Drill
- Circular saw (rigid blade)
- Level
- Clamps
- Tape measure
- Safety glasses & gloves
Optional Tools
- Table saw
- Electric sander
Materials
- 2×10 (or 2×8/2×6) lumber, ≥8 ft long
- 3/4″ plywood (~2 ft²)
- “Door stop” hangers (Home Depot zinc-plated)
- 5/16″ bolts & washers + matching T-nuts
- Wood screws for RPTC mounting
Cutting & Shaping the Base
Trace your RPTC halves on ¾″ plywood and cut with a jigsaw. Leave a 1″ margin at the top so the door stops can hook securely.

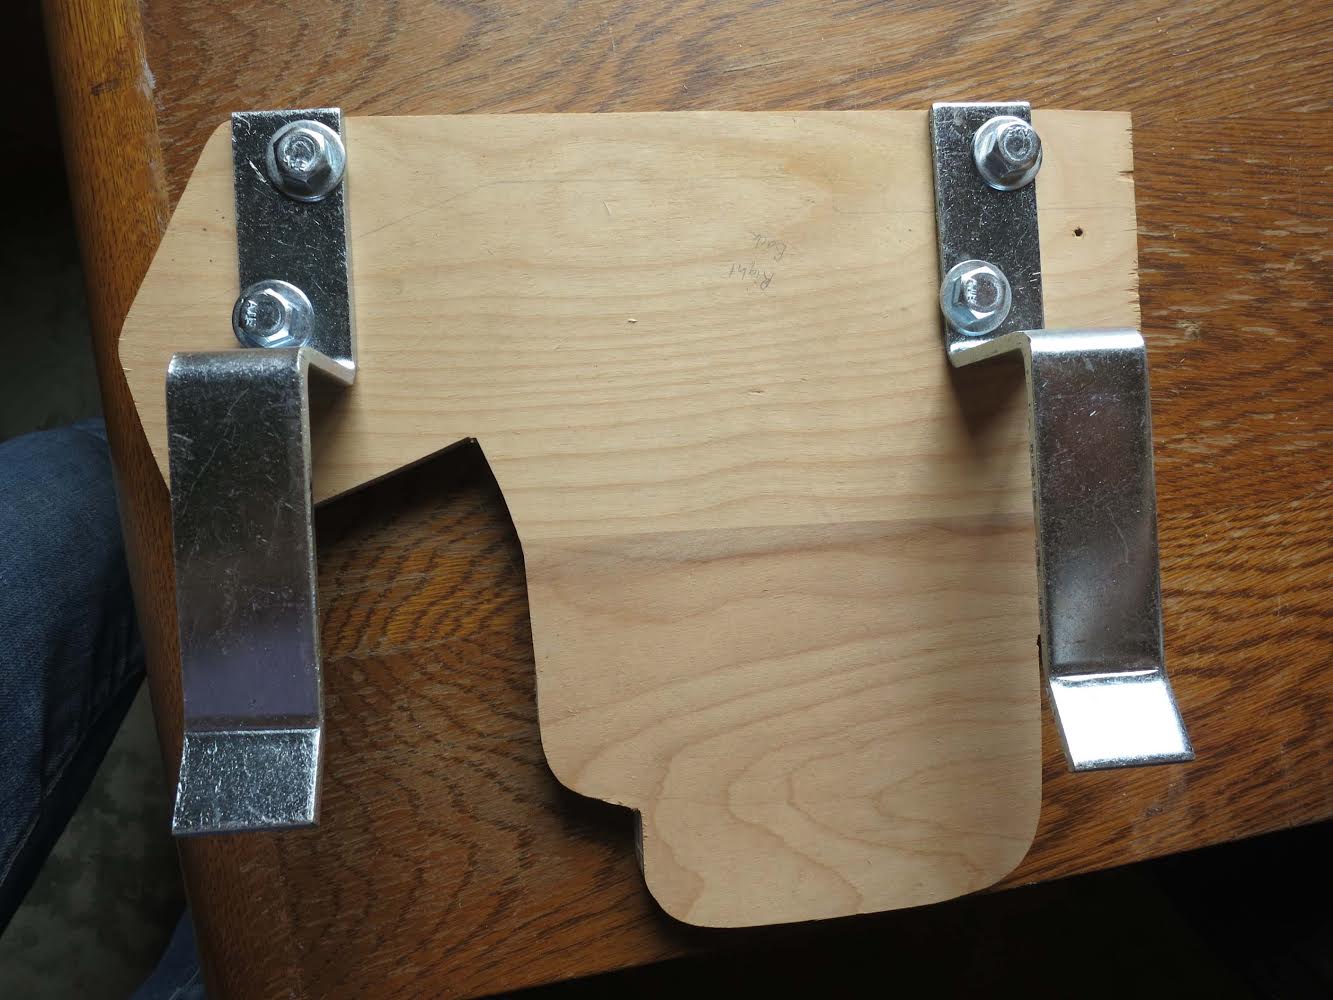
Installing Door-Stop Hardware
Lay out and pre-drill bolt holes near the top edge. Torque the 5/16″ bolts into T-nuts flush with the back of the plywood.

Mounting Your RPTC
Choose screws that won’t protrude through the back. Clamp the RPTC half onto the base, verify alignment, then drive in your screws.


Final Notes
Hang your base boards on any 2×10 cross-beam—the door stops simply hook and hold. If there’s a gap, add a 3/8″–1/2″ shim to your beam. Adjust your beam height so the bottom of your board ends up at your preferred 81″ off the floor.